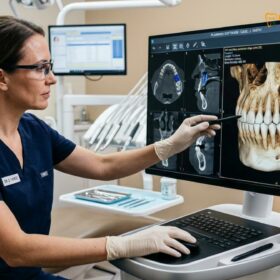
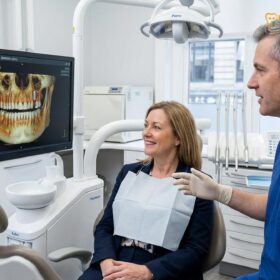
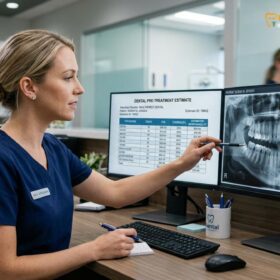
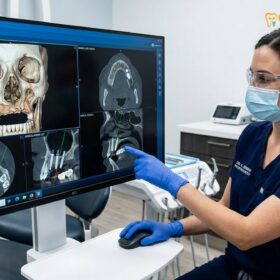
The All on 4 recovery process typically spans four to six months, beginning with acute tissue healing in the first two weeks, followed by a prolonged osseointegration phase. Patients receive a functional temporary bridge immediately, allowing for a rapid return to daily life while adhering to strict dietary guidelines.
Clinical Summary:
Recovery from full-arch implant surgery requires careful management of initial inflammation, adherence to a modified diet, and meticulous oral hygiene. While soft tissue heals within weeks, the underlying bone integration takes several months. Following prescribed clinical protocols ensures the long-term stability of the final prosthetic restoration, minimizing the risk of complications and ensuring optimal functional and aesthetic outcomes.
Key Takeaways:
- Acute swelling and discomfort peak between 48 and 72 hours post-surgery before naturally subsiding.
- A strict non-chew diet is mandatory for the first three months to prevent implant micromovement.
- Osseointegration is the critical biological process where jawbone fuses directly to the titanium fixtures.
- Specialized cleaning tools, including oral irrigators, are essential for maintaining peri-implant tissue health.
- The final permanent bridge is attached only after complete bone healing and tissue remodeling are clinically verified.
What to Expect Immediately After Full-Arch Surgery
Immediately following your procedure, you will wake up with a fixed temporary prosthesis in place, experiencing mild numbness and localized pressure as the surgical anesthesia gradually wears off.
The transition from the surgical operatory to the recovery phase is a critical period in your full-arch implant rehabilitation journey. Because the All-on-4 protocol utilizes the concept of immediate loading, you will not leave the clinic without teeth. Instead, a provisional (temporary) acrylic bridge is securely screwed onto the newly placed titanium implants. This immediate splinting not only provides instant aesthetic and functional benefits but also plays a vital biomechanical role in locking the implants together, thereby reducing individual implant stress during the initial healing phase[1].
As the local anesthesia or intravenous sedation begins to dissipate, it is entirely normal to feel a sense of heaviness, mild throbbing, or tightness in the jaw. This sensation is primarily due to the physical presence of the new prosthesis and the body’s initial response to surgical trauma. Your clinical team will monitor your vital signs and ensure that initial hemostasis (blood clotting) is achieved before you are discharged. You will be provided with a comprehensive set of post-operative instructions, and it is imperative that you have a responsible adult available to drive you home, as the lingering effects of sedation impair motor skills and judgment.
Effective post-op swelling control begins the moment you leave the dental chair. The surgical manipulation of the gingival tissues and the underlying alveolar bone triggers an immediate inflammatory cascade. Blood vessels dilate to bring healing factors to the site, which inevitably leads to edema (swelling). To counteract excessive inflammation, your clinician will likely administer a localized corticosteroid during the procedure and instruct you to begin cold therapy immediately upon returning home. The goal during these first few hours is not to stop the healing process, but to modulate the body’s response so that recovery remains as comfortable as possible.
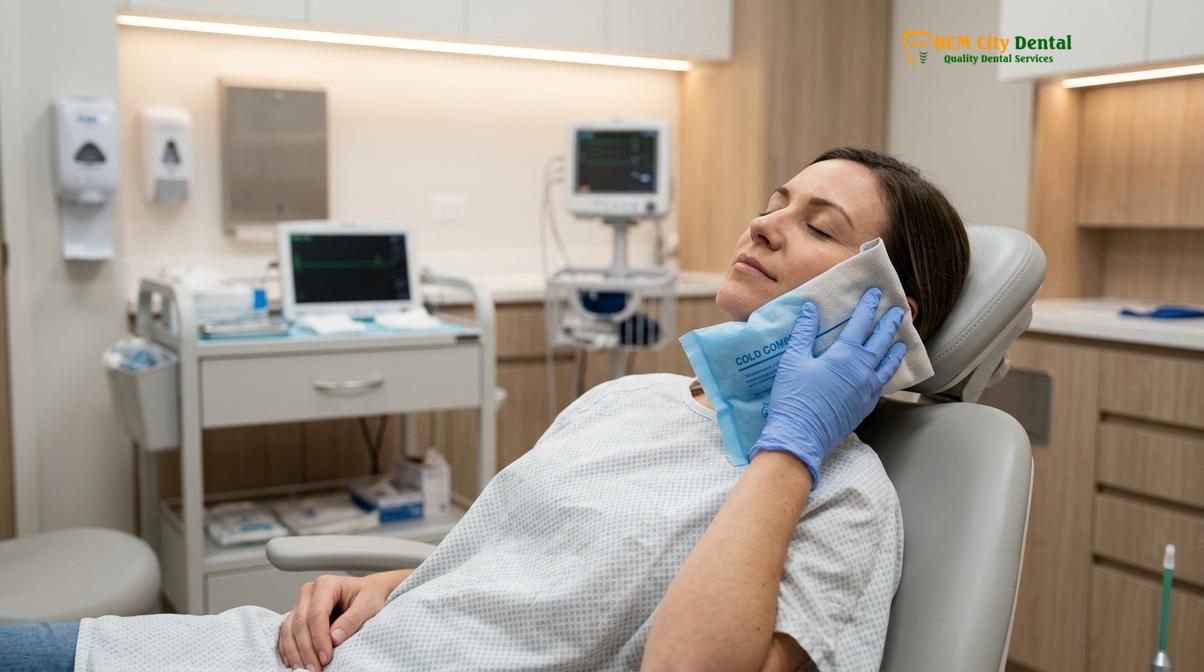
Furthermore, you may notice minor oozing of blood around the surgical sites or from beneath the temporary bridge. This is a standard physiological occurrence. Saliva naturally mixes with small amounts of blood, often making the bleeding appear more significant than it actually is. Biting down gently on sterile gauze pads, as directed by your surgical team, applies the necessary pressure to encourage stable clot formation. It is crucial during this immediate post-operative window to avoid any vigorous rinsing, spitting, or using a straw, as the negative pressure created in the oral cavity can dislodge these fragile blood clots and trigger secondary bleeding.
The First 72 Hours: Swelling, Discomfort, and Bleeding Control
The first three days involve managing the body’s natural inflammatory response through prescribed analgesics, continuous cold therapy, and strict rest to stabilize the surgical sites and prevent complications.
The acute phase of recovery encompasses the first 72 hours following surgery. During this window, patients must be highly proactive in their post-op swelling control and pain management. It is a common misconception that the day of surgery is the most uncomfortable; in reality, facial swelling and localized edema typically peak on the second or third day before beginning a gradual decline[2]. Understanding this timeline helps alleviate anxiety when patients wake up on day two looking more swollen than they did immediately after the procedure.
To effectively manage this inflammation, cold therapy is your most potent non-pharmacological tool. Ice packs wrapped in a thin towel should be applied to the outside of the face—specifically over the cheeks and jawline—in a cycle of 20 minutes on and 20 minutes off during waking hours. This localized cooling constricts the blood vessels, reducing fluid accumulation in the facial tissues. After the 72-hour mark, the protocol shifts; cold therapy becomes less effective, and patients are often advised to switch to warm, moist compresses to promote blood flow and help dissipate the accumulated fluids and any associated bruising.
Critical Post-Operative Warning: Smoking, vaping, and the consumption of alcohol are strictly prohibited during the initial recovery phase. Nicotine causes severe vasoconstriction, drastically reducing blood flow to the surgical sites, which can lead to delayed healing, increased risk of infection, and ultimately, implant failure. Additionally, avoid any strenuous physical activity, heavy lifting, or bending over, as elevated blood pressure can induce throbbing and secondary bleeding.
Pain management is another cornerstone of the first 72 hours. While the All-on-4 procedure is highly invasive, the fact that the implants are placed deep within the bone (which has fewer nerve endings than the soft tissues) and immediately stabilized by the bridge means that pain is often less severe than patients anticipate. Discomfort is generally managed effectively with a combination of prescribed non-steroidal anti-inflammatory drugs (NSAIDs) and, if necessary, stronger analgesics for breakthrough pain. It is vital to take these medications exactly on schedule, staying “ahead” of the pain rather than waiting for it to become severe. Your dentist may also prescribe a prophylactic course of antibiotics to prevent opportunistic infections in the surgical sites.
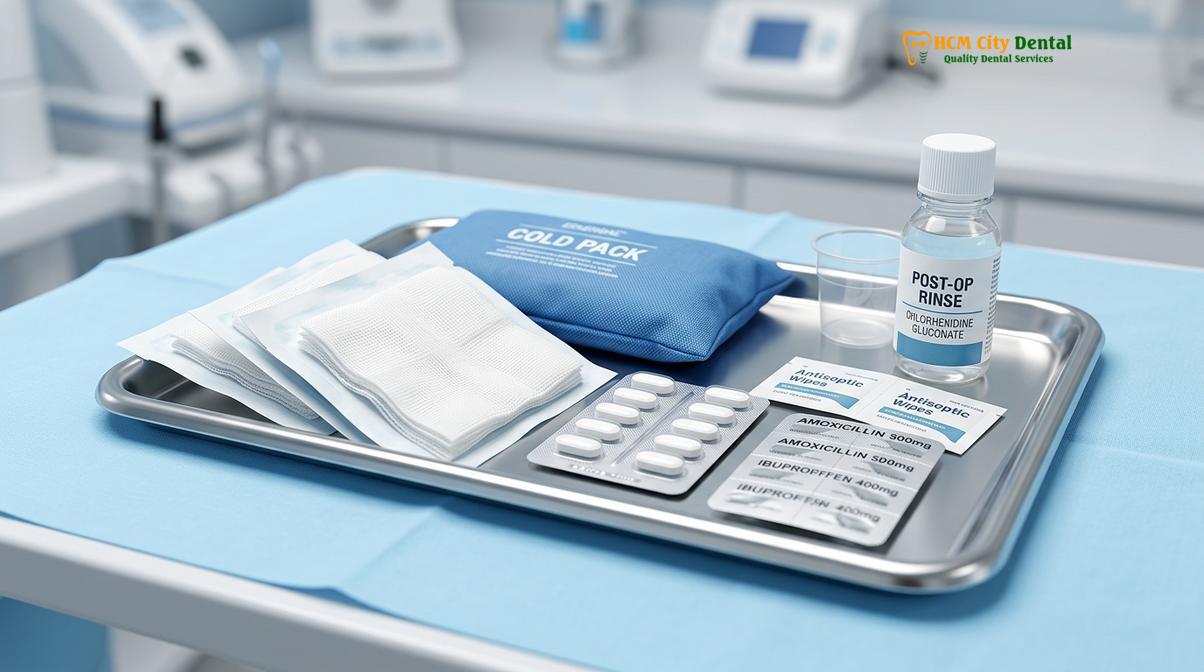
Sleeping posture also plays a significant role in early recovery. Patients are advised to sleep with their head elevated on two or three pillows, or in a recliner, for the first few nights. Keeping the head above the level of the heart utilizes gravity to prevent excess fluid from pooling in the facial tissues, thereby minimizing morning swelling. By adhering to these strict protocols, patients set the foundation for a smooth transition into the longer-term healing phases of modern implant dentistry.
Soft Diet Matrix: Week 1 to Month 3 (Osseointegration Phase)
To protect the integrating implants from excessive bite forces, patients must strictly consume non-chew, nutrient-dense foods during the entire three-month osseointegration window to ensure primary stability.
Perhaps the most challenging, yet undeniably the most critical, aspect of the All on 4 recovery is dietary compliance. While the temporary bridge provided on the day of surgery looks like a perfect set of teeth, it is crucial to remember that the underlying titanium implants are merely mechanically wedged into the bone at this stage. They have not yet biologically fused with the jaw. This biological fusion, known as osseointegration, is a complex cellular process where osteoblasts (bone-building cells) migrate to the surface of the titanium and lay down new bone matrix, locking the implant permanently in place.
If the implants are subjected to excessive occlusal (biting) forces during this vulnerable period, micromovement can occur. Clinical studies have shown that if an implant moves more than 150 micrometers within the bone socket, the body will respond by forming a layer of fibrous scar tissue around the implant instead of bone[3]. This fibrous encapsulation results in a failed implant that must be removed. Therefore, adhering to a strict temporary bridge soft diet is not merely a suggestion for comfort; it is an absolute biomechanical necessity to ensure the survival of your new smile.
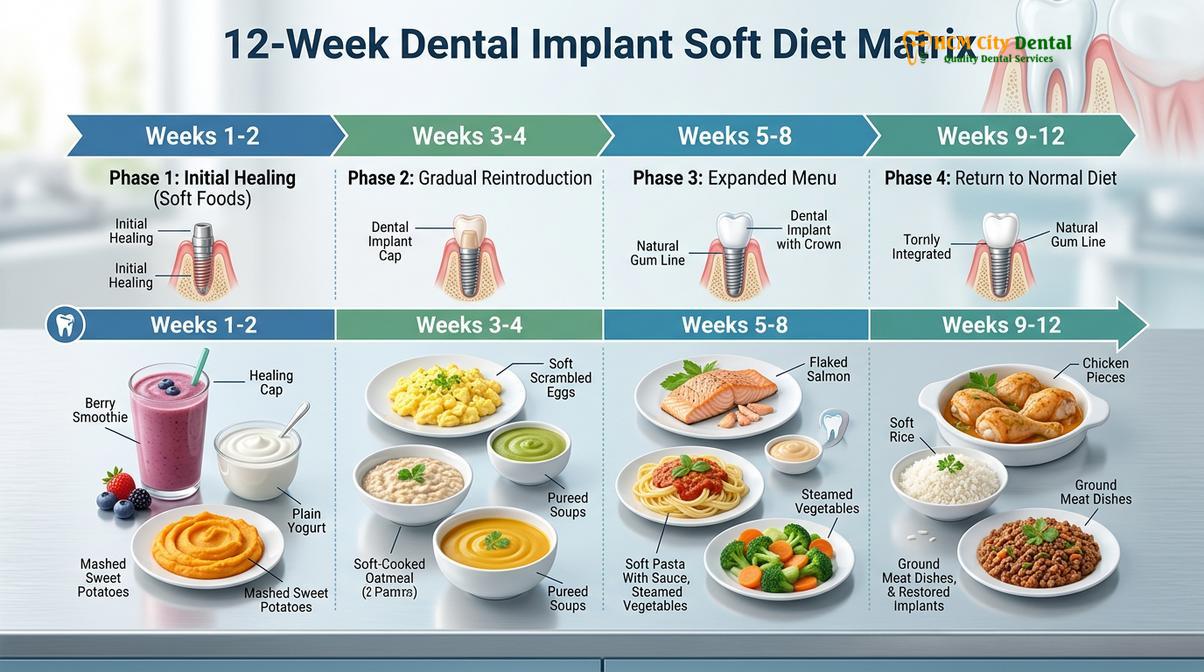
The dietary progression is carefully structured to align with the osseointegration healing milestones. During the first week, the diet should consist entirely of liquids and pureed foods that require zero chewing. As the soft tissues heal and initial primary stability is maintained, patients can gradually introduce foods that can be easily mashed with a fork. However, the fundamental rule remains: if it makes a sound when you bite it, or if it requires grinding motion, it is strictly forbidden until your dentist confirms that osseointegration is complete.
| Healing Phase | Dietary Classification | Approved Food Examples | Strictly Prohibited Foods |
|---|---|---|---|
| Days 1 – 7 | Liquid & Pureed (No Chewing) | Protein shakes, smooth soups (lukewarm), yogurt, applesauce, fruit smoothies (no seeds). | Anything requiring chewing, hot liquids, using straws, seeds, nuts. |
| Weeks 2 – 4 | Fork-Mashable (Minimal Chewing) | Scrambled eggs, mashed potatoes, flaky baked fish, overcooked pasta, soft tofu, avocado. | Crusty bread, tough meats, raw vegetables, sticky candies, ice cubes. |
| Months 2 – 3 | Soft Solid (Gentle Chewing) | Ground meats, soft cooked chicken, steamed vegetables, soft breads (no crust), baked fruits. | Steak, hard taco shells, popcorn, nuts, raw carrots, chewing gum. |
| Month 4+ | Return to Normal (Post-Clearance) | Gradual reintroduction of a normal diet once the final permanent bridge is attached. | Using teeth as tools (opening packages, biting nails) is permanently prohibited. |
Maintaining proper nutrition during this restricted phase is vital for optimal healing. Bone regeneration requires substantial metabolic energy, protein, calcium, and vitamins (particularly Vitamin C and D). Patients are encouraged to utilize nutritional supplements and protein powders to ensure they are meeting their caloric and macronutrient needs without compromising the temporary bridge soft diet. When comparing fixed implant solutions versus traditional removable prosthetics, the temporary dietary restriction is a small price to pay for the long-term ability to eat any food with confidence once the final restoration is placed.
As you progress through the osseointegration healing milestones, you will notice that the temporary bridge feels increasingly secure. However, this subjective feeling of stability can be deceptive. The bone remodeling process involves an initial phase where the bone immediately surrounding the implant actually softens slightly before new, denser bone is formed. This “stability dip” usually occurs between weeks three and five, making dietary compliance during the second month just as critical as the first week.
Oral Hygiene Protocols: Cleaning Under Your Fixed Bridge
Maintaining pristine tissue health around your new implants requires specialized techniques, transitioning from gentle saline rinses to targeted mechanical cleaning beneath the prosthesis to prevent peri-implantitis.
The success of your All-on-4 implants relies heavily on your commitment to meticulous oral hygiene. Unlike natural teeth, which are surrounded by a protective periodontal ligament, dental implants have a direct transmucosal attachment. This means that the seal between the gum tissue and the titanium abutment is more fragile and susceptible to bacterial infiltration. If plaque biofilm is allowed to accumulate beneath the fixed bridge, it can trigger an inflammatory condition known as peri-implant mucositis, which, if left untreated, progresses to peri-implantitis—a destructive disease that causes bone loss and eventual implant failure.
During the first week of recovery, mechanical brushing of the surgical sites is strictly prohibited to avoid tearing the delicate sutures and disrupting the healing tissues. Instead, hygiene is maintained through chemical means. Your dentist will prescribe a chlorhexidine gluconate mouthwash, which possesses powerful antibacterial properties. You will be instructed to gently bathe the surgical areas by tilting your head side to side, rather than swishing vigorously. Warm saltwater rinses (one teaspoon of salt in a glass of warm water) are also highly recommended after meals to soothe the tissues and maintain a neutral oral pH.
“The transition from a failing dentition to a full-arch implant bridge requires a complete paradigm shift in how a patient approaches home care. The space between the prosthetic gingiva and the natural gum line is a prime harbor for biofilm. Mastering the use of specialized interdental tools is not optional; it is the primary determinant of long-term implant survival.”
— Dr. Nguyen Van Cuong, Lead Implantologist
As the soft tissues close and the sutures dissolve (typically around days 10 to 14), you will begin transitioning to mechanical cleaning. A soft-bristled surgical toothbrush should be used to clean the biting surfaces and the outside of the temporary bridge. However, the most critical area to clean is the intaglio surface—the underside of the bridge that rests against the gums. Standard dental floss is ineffective for this task. Instead, patients must use specialized “superfloss,” which features a stiffened end that can be threaded beneath the bridge, and a spongy middle section designed to sweep away plaque from the titanium abutments.
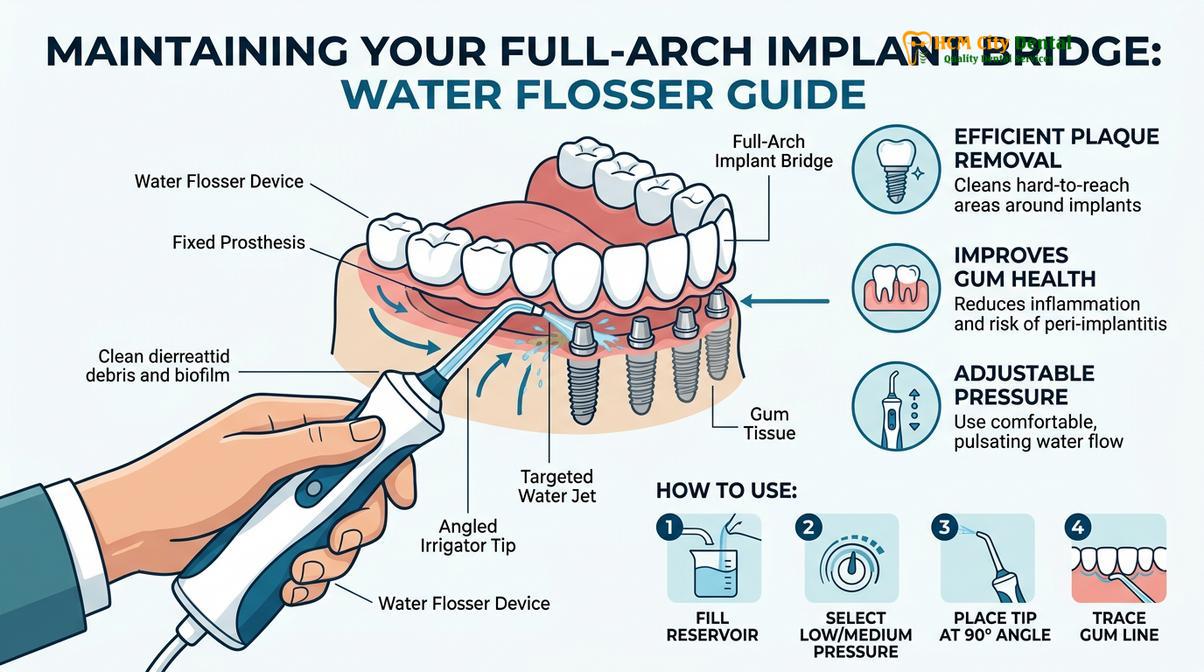
Once the initial healing phase is complete and your dentist provides clinical clearance (usually around week four to six), water flosser cleaning becomes the gold standard for daily maintenance. An oral irrigator utilizes a pulsating stream of water to flush out food debris and disrupt the bacterial biofilm in areas that floss and brushes cannot reach[4]. When using a water flosser, it is crucial to use a low-pressure setting initially and direct the stream at a 90-degree angle to the gumline, tracing the contour of the bridge from the cheek side to the tongue side. For patients investing in premium implant systems, protecting that investment through rigorous daily water flosser cleaning ensures the longevity of the restorative work.
Timeline for Soft Reline and Final Restorative Attachment
As gum tissues heal and shrink, your temporary bridge may require adjustments before the final, highly durable permanent teeth are fabricated and securely attached to the fully integrated implants.
The All on 4 recovery journey does not end when the initial swelling subsides; it is a dynamic process of tissue remodeling and prosthetic refinement. When natural teeth are extracted, the alveolar bone and surrounding gum tissues undergo a natural process of resorption and shrinkage. Because the temporary bridge is fabricated based on the topography of your gums on the day of surgery, a gap will inevitably develop between the underside of the bridge and your healing gums as the swelling resolves and the tissues contract.
This gap can become a trap for food debris and affect speech phonetics. To address this, your clinical team may perform a “soft reline” of the temporary bridge around the two-to-three-month mark. During this simple procedure, a soft, biocompatible material is added to the underside of the prosthesis to fill the void, restoring a flush fit against the gums, improving comfort, and making hygiene maintenance easier while you wait for the final osseointegration healing milestones to be reached.
Clinical Case Example: A 62-year-old patient presented to HCMC Dental Clinic in Ho Chi Minh City with terminal dentition requiring a full upper arch rehabilitation. Following the surgical placement of four implants and immediate provisionalization, the patient adhered strictly to the soft diet matrix. At the four-month evaluation, CBCT imaging confirmed robust osseointegration. The temporary acrylic bridge, which had sustained minor wear, was successfully replaced with a definitive monolithic zirconia prosthesis, restoring full masticatory function and superior aesthetics without any complications.
The culmination of the recovery process occurs between months four and six. Once clinical testing and radiographic imaging confirm that the implants are solidly fused to the jawbone, the fabrication of the definitive (permanent) prosthesis begins. This final bridge is vastly superior to the temporary one. It is typically milled from a solid block of zirconia or constructed with a titanium framework overlaid with high-impact acrylic or porcelain. These materials offer exceptional durability, stain resistance, and lifelike aesthetics[5].
The transition to the final prosthesis involves taking highly accurate digital or physical impressions of the fully healed gum topography and the exact positions of the integrated implants. The dental laboratory then crafts a custom bridge designed to withstand the full forces of normal mastication. Once this final restoration is securely attached, patients are officially cleared to resume a normal diet, marking the successful completion of their comprehensive treatment planning and investment.
When to See a Doctor
While the vast majority of full-arch implant recoveries proceed smoothly when protocols are followed, it is essential to recognize the clinical red flags that warrant immediate professional evaluation. Early intervention is the key to preventing minor complications from escalating into implant failure.
You should contact your dental provider immediately if you experience any of the following symptoms:
- Persistent or Worsening Pain: While mild to moderate discomfort is normal initially, severe, throbbing pain that does not respond to prescribed analgesics, or pain that suddenly intensifies after the first week, may indicate an infection or nerve irritation.
- Excessive Bleeding: Minor oozing is expected in the first 24 hours. However, active, pulsatile bleeding that cannot be controlled with firm gauze pressure requires immediate clinical attention.
- Purulent Exudate (Pus): The presence of a white or yellow discharge around the implant sites, often accompanied by a foul taste or odor, is a definitive sign of a localized bacterial infection.
- Prosthesis Mobility: Your temporary bridge should feel completely rigid. If you notice any clicking, shifting, or looseness when speaking or swallowing, the retaining screws may have loosened, or an implant may be failing to integrate. Do not attempt to tighten it yourself.
- Prolonged Paresthesia: Numbness in the lips, chin, or tongue is normal while the local anesthesia wears off. If this numbness persists beyond 24 hours, it could indicate inflammation compressing a nerve, requiring immediate assessment.
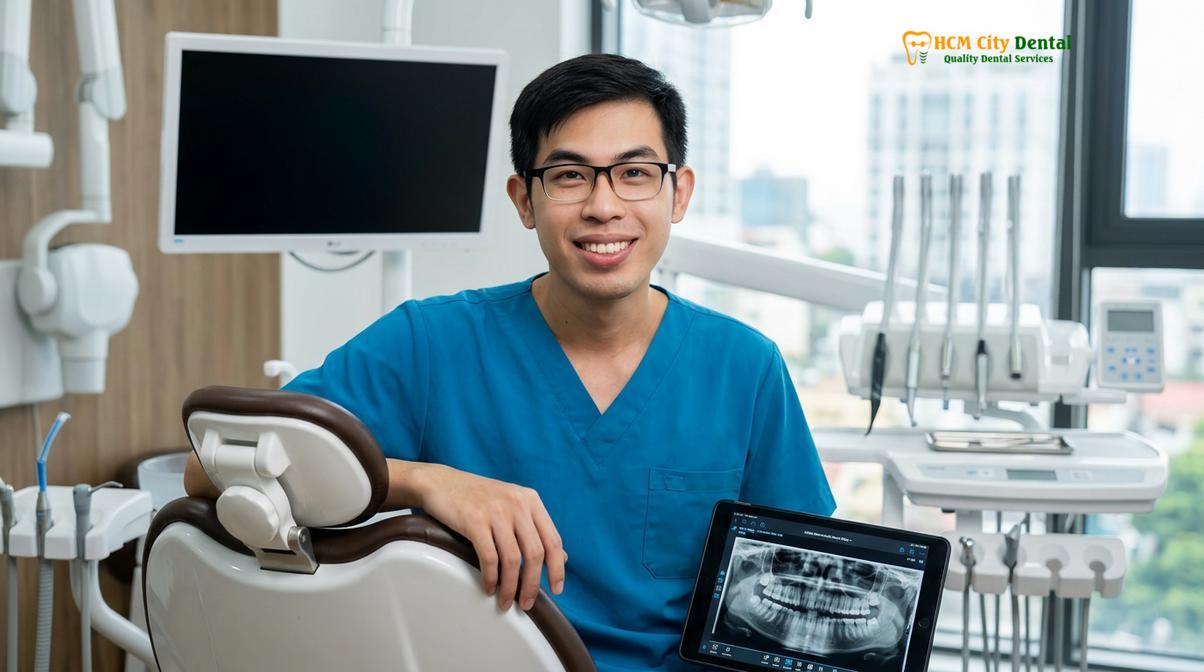
Regular follow-up appointments are a mandatory component of the recovery timeline. These visits allow your clinician to monitor tissue healing, adjust the bite occlusion, and verify that you are effectively managing your home care. By maintaining open communication with your care team and strictly adhering to the post-operative guidelines, you maximize the probability of a successful outcome when evaluating the clinical benefits and limitations of your new smile.
“Patient compliance is the invisible variable in implant dentistry. We can execute a flawless surgical procedure utilizing the most advanced 3D guided technology, but the ultimate success of the osseointegration phase rests entirely in the patient’s hands during those critical first few months at home.”
— Dr. Nguyen Van Cuong, HCMC Dental Clinic
Frequently Asked Questions
How painful is recovery after All-on-4?
Most patients experience moderate discomfort rather than severe pain, which is effectively managed with prescribed analgesics for the first three to five days. Because the surgical sites are stabilized by the fixed bridge, tissue irritation is minimized compared to removable dentures. The discomfort is often described as a dull ache or pressure, similar to a deep bruise, rather than sharp surgical pain. Adhering to the medication schedule and utilizing cold therapy significantly mitigates this phase.
When can I start eating solid foods after All-on-4?
You must wait approximately three to four months before consuming hard, solid foods to ensure complete bone integration. During the initial healing phase, a strict temporary bridge soft diet is mandatory to prevent implant failure caused by excessive bite forces. Introducing hard foods prematurely can cause micromovement of the titanium fixtures, leading to fibrous encapsulation instead of healthy bone fusion. Your dentist will give you official clearance after radiographic confirmation of healing.
How do you clean under an All-on-4 bridge?
Cleaning under the bridge requires specialized tools, starting with gentle saline rinses in the first week, followed by superfloss and interdental brushes. Once cleared by your dentist, daily water flosser cleaning becomes the most effective method to flush out trapped debris. It is crucial to angle the water stream correctly to sweep beneath the prosthetic gingiva without forcing bacteria deeper into the implant pockets. Regular professional cleanings are also required to remove calcified calculus.
How long does swelling last after full-arch implant surgery?
Facial swelling typically peaks between 48 and 72 hours post-surgery before gradually subsiding over the following week. Consistent use of cold compresses during the first two days and keeping your head elevated significantly reduces the severity of the inflammation. Bruising may also appear as the swelling goes down, often migrating down the neck or jawline due to gravity; this is a normal part of the body’s process of breaking down accumulated blood cells.
Can my temporary All-on-4 bridge break during recovery?
Yes, the provisional acrylic bridge can fracture if subjected to excessive bite forces or hard foods before the final restoration is placed. Adhering strictly to the recommended soft diet matrix is crucial to protect both the temporary prosthesis and the integrating implants. If a fracture occurs, or if the bridge feels loose, you must contact your dental clinic immediately. Continuing to wear a compromised bridge can place uneven, destructive stress on the underlying healing implants.
References
- Journal of Prosthetic Dentistry. Immediate loading biomechanics in full-arch implant rehabilitation. (2021).
- Clinical Implant Dentistry and Related Research. Inflammatory response and soft tissue healing protocols post-surgery. (2020).
- International Journal of Oral & Maxillofacial Implants. Diet modification and the prevention of micromovement in immediate loading. (2019).
- Journal of Periodontology. Efficacy of oral irrigators in peri-implant maintenance and biofilm disruption. (2022).
- Journal of Oral Rehabilitation. Tissue remodeling and prosthetic transition from provisional to definitive full-arch bridges. (2018).