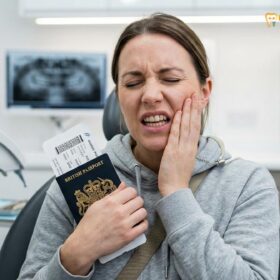
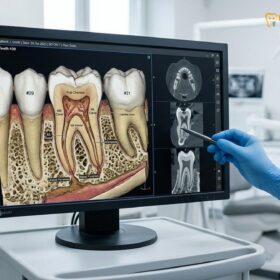
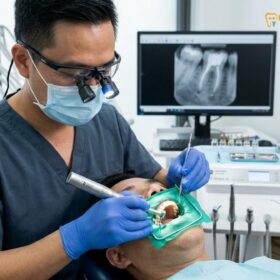
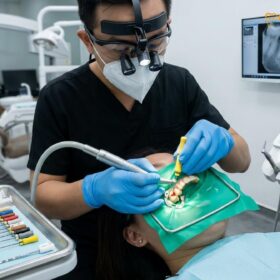
A root canal recovery guide provides essential clinical protocols for managing post-operative healing. While the infected nerve is removed, the surrounding periodontal tissues require time to recover from inflammation. Proper care involves managing temporary numbness, adhering to medication schedules, and protecting the temporary restoration until final crown placement.
Clinical Summary:
Recovering from endodontic therapy is a highly predictable physiological process when strict post-operative protocols are followed. The immediate recovery phase focuses on preventing soft tissue trauma while local anaesthesia dissipates. Over the subsequent 72 hours, patients typically experience mild to moderate inflammatory tenderness within the periodontal ligament, which is effectively managed through a scheduled regimen of non-steroidal anti-inflammatory drugs (NSAIDs). Protecting the temporary coronal seal is paramount to prevent bacterial microleakage into the newly disinfected canal system. Clinical success relies on maintaining meticulous, yet gentle, oral hygiene, adhering to dietary modifications, and attending the follow-up appointment for the placement of a definitive permanent restoration, such as a full-coverage crown, which provides long-term structural integrity to the treated tooth.
Key Takeaways:
- Wait until local anaesthesia completely wears off before consuming solid foods to prevent accidental bite injuries to the lips, cheeks, or tongue.
- Expect transient periapical tenderness for 3 to 5 days as the supporting bone and ligaments heal from the infection and instrumentation.
- Chew exclusively on the opposite side of your mouth to protect the fragile temporary filling from fracturing or dislodging.
- Maintain a consistent schedule of over-the-counter anti-inflammatory medications during the first 48 hours to preemptively control swelling and discomfort.
- Contact your endodontist immediately if you experience severe, throbbing pain, visible facial swelling, or an allergic reaction to prescribed medications.
Immediate Post-Treatment Hours: Managing Numbness and Local Anaesthesia
The first few hours after treatment require caution as local anaesthesia wears off, leaving the mouth numb and susceptible to accidental bite injuries. Patients must avoid eating solid foods until full sensation returns.
The immediate transition from the dental chair to your home environment marks the critical first phase of your root canal recovery guide. During the procedure, your endodontist administered local anaesthetics—typically a combination of lidocaine or articaine with a vasoconstrictor like epinephrine—to ensure profound numbness and a pain-free experience. Because these pharmacological agents are designed to block nerve conduction effectively, their effects will linger well beyond the completion of your appointment. Depending on the specific formulation used, the volume injected, and your individual metabolic rate, profound soft tissue numbness in your lips, cheeks, tongue, and jaw can persist for two to four hours post-treatment [1].
This prolonged lack of sensation presents a significant, yet easily avoidable, clinical risk: masticatory trauma. When the proprioceptive feedback mechanisms of your mouth are temporarily disabled, you cannot accurately gauge the force of your bite or the position of your soft tissues. Attempting to chew solid foods, or even aggressively chewing gum, during this window frequently results in severe, self-inflicted bite injuries to the buccal mucosa (inside of the cheek) or the lateral borders of the tongue. These traumatic ulcers can be exceptionally painful once the anaesthesia wears off and may complicate your overall recovery process.
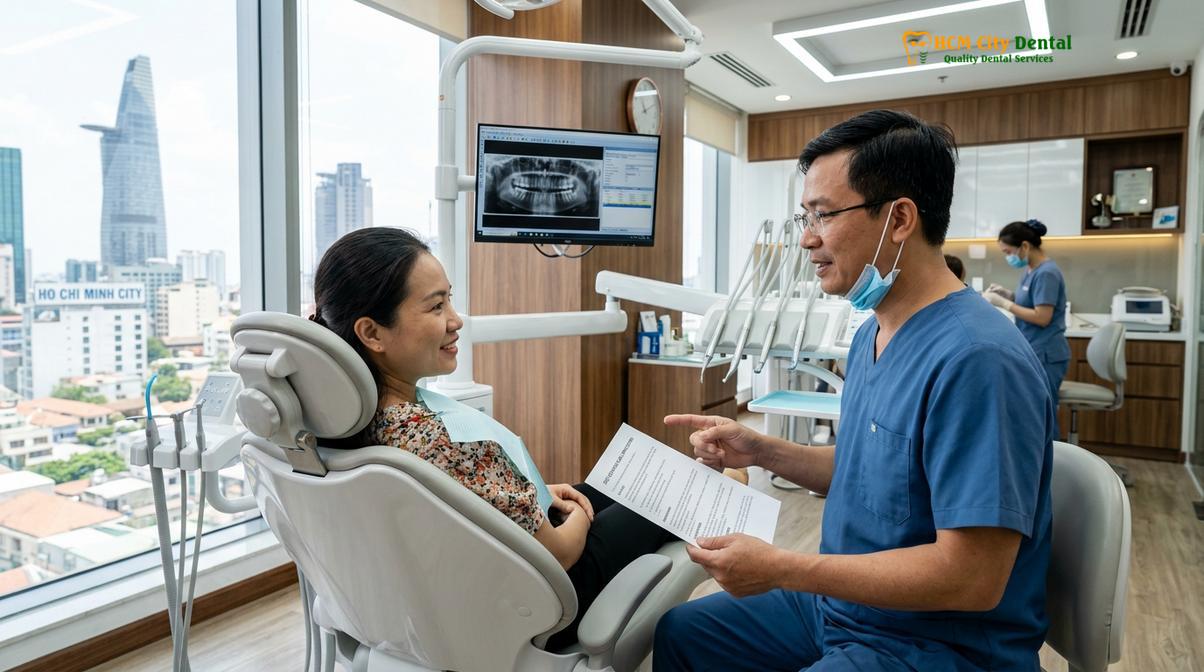
To mitigate these risks, clinical guidelines strongly advise consuming only liquid or extremely soft foods—such as protein shakes, smooth yogurt, or lukewarm broths—until you have regained complete tactile sensation and motor control in the affected quadrant. Furthermore, extreme temperature variations must be avoided. Because your thermal receptors are temporarily blocked, consuming scalding hot coffee or tea can cause severe mucosal burns without you realizing it until the damage is already done. Dr. Nguyen Van Cuong frequently emphasizes to his patients that patience during these initial hours is the cornerstone of a complication-free recovery.
As the anaesthetic begins to metabolize and dissipate, you will experience a transitional phase characterized by a tingling or “pins and needles” sensation. This is a normal neurological response indicating that the sensory nerves are returning to their baseline function. It is precisely at this juncture—before the numbness has entirely vanished—that you should take your first dose of prescribed or recommended analgesic medication. Preemptive pain management is vastly superior to reactive pain management; establishing a therapeutic level of medication in your bloodstream before the onset of inflammatory pain ensures a much smoother transition into the next phase of healing.
Days 1 to 3: Overcoming Normal Soreness and Inflammatory Tenderness
Mild to moderate discomfort during the first 72 hours is a normal physiological response due to periapical tissue inflammation and the mechanical instrumentation of the root canal system.
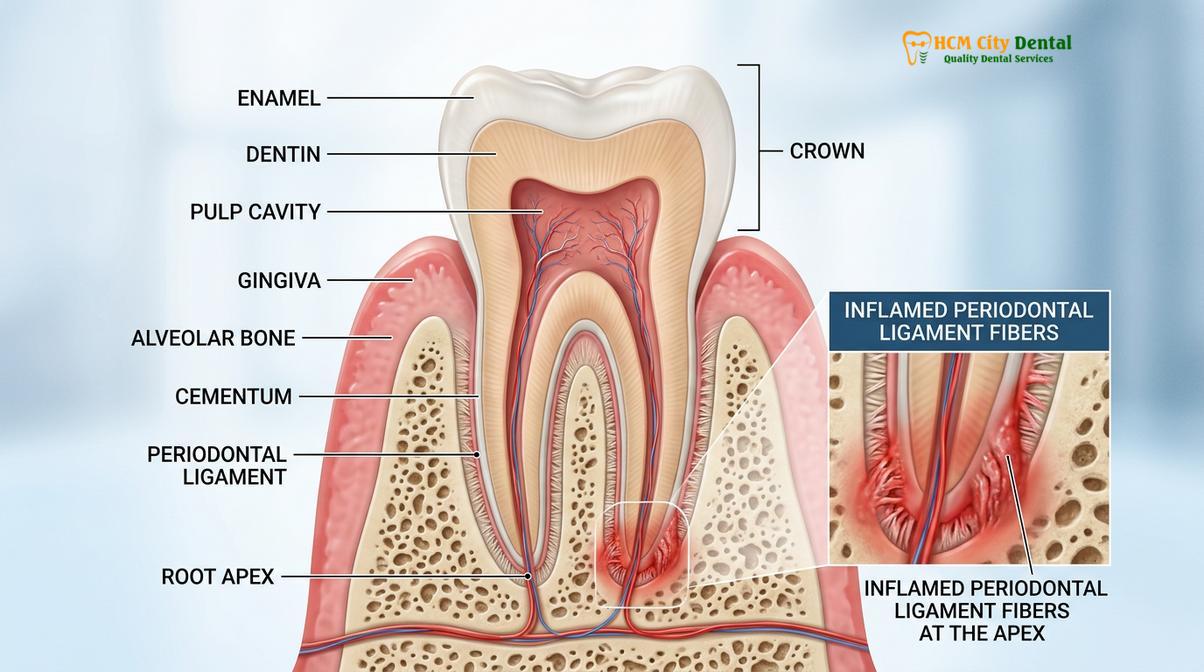
A common misconception among patients is that because the internal nerve (the dental pulp) has been completely extirpated during the Root Canal procedure, the tooth should be entirely devoid of any sensation. While it is true that the tooth can no longer perceive hot or cold stimuli, the surrounding anatomical structures remain highly innervated and vascularized. The tooth is suspended within the alveolar bone socket by a complex network of fibers known as the periodontal ligament (PDL). This ligament is densely packed with mechanoreceptors and nociceptors (pain receptors) that respond to pressure and inflammation.
During endodontic therapy, the mechanical cleaning and shaping of the root canal system using rotary files, combined with the chemical disinfection using sodium hypochlorite irrigants, inevitably causes a localized inflammatory response at the apex (tip) of the root. Furthermore, if the tooth was heavily infected prior to treatment, the pre-existing apical periodontitis (bone infection) requires significant time to resolve. The immune system is actively working to clear cellular debris and bacterial remnants from the periapical tissues, a biological process that inherently produces inflammation, localized edema (swelling), and the release of biochemical pain mediators such as prostaglandins and bradykinin [2].
“Post-endodontic tenderness is not an indication of treatment failure, but rather a predictable physiological manifestation of the body’s immune system initiating the periapical healing cascade within the periodontal ligament space.”
Consequently, experiencing mild tooth soreness during the first one to three days is entirely expected. This tenderness is typically most pronounced when you bite down, tap the tooth, or apply occlusal pressure, as these actions compress the inflamed periodontal ligament against the bony socket. The intensity of this discomfort generally peaks within the first 24 to 48 hours and should exhibit a steady, daily decline thereafter. To help patients track their recovery, we have outlined the standard progression of symptoms below.
| Recovery Timeline | Expected Clinical Sensations | Recommended Patient Action |
|---|---|---|
| Day 1 (0-24 Hours) | Moderate tenderness, dull ache, sensitivity to biting pressure, jaw stiffness from keeping the mouth open. | Take scheduled anti-inflammatory medication, apply external cold compresses, eat soft foods, rest. |
| Day 2 (24-48 Hours) | Mild tooth soreness persists, biting pressure remains uncomfortable, localized gum tenderness. | Continue medication schedule, maintain soft diet, begin gentle warm saltwater rinses. |
| Day 3 (48-72 Hours) | Significant reduction in resting ache; tooth may still feel slightly “bruised” when chewing. | Taper off medication as needed, gradually reintroduce normal foods but avoid chewing on the treated side. |
| Day 4 to 7 | Symptoms largely resolved; tooth feels normal but remains fragile until the permanent crown is placed. | Resume normal hygiene, prepare for follow-up restorative appointment. |
To facilitate optimal healing during this acute inflammatory phase, it is crucial to minimize mechanical stress on the treated tooth. Avoid chewing hard, crunchy, or tough foods on the affected side. Instead, utilize the opposite side of your mouth for mastication. If you suffer from bruxism (nocturnal teeth grinding), wearing a protective night guard is highly recommended to prevent excessive occlusal forces from exacerbating the periodontal inflammation. Rest assured, as the biochemical markers of inflammation dissipate, the mild tooth soreness will resolve, leaving you with a healthy, functional, and pain-free tooth.
Proper Care for Your Temporary Dental Filling
A temporary filling seals the access cavity to prevent bacterial microleakage between appointments, requiring patients to chew on the opposite side and avoid sticky or hard foods.
Following the obturation (filling) of the root canal system with biocompatible gutta-percha and sealer, the access opening created in the crown of your tooth must be securely closed. Because the fabrication of a permanent restoration—such as a custom-milled zirconia or porcelain crown—often requires a separate appointment, your endodontist will place a temporary filling material into the cavity. These materials, which may include zinc oxide eugenol (IRM), calcium sulfate-based cements (Cavit), or glass ionomer cements, are specifically engineered to provide an immediate, albeit short-term, hermetic seal against the oral environment [3].
The primary biological function of this temporary restoration is to prevent salivary contamination and bacterial microleakage from re-infecting the newly sterilized root canal system. The oral cavity is host to billions of bacteria, and if the temporary seal is compromised, microorganisms can rapidly migrate down the root canals, potentially jeopardizing the entire endodontic treatment and necessitating a complex retreatment procedure. Therefore, meticulous temporary filling care is a non-negotiable aspect of your recovery protocol.
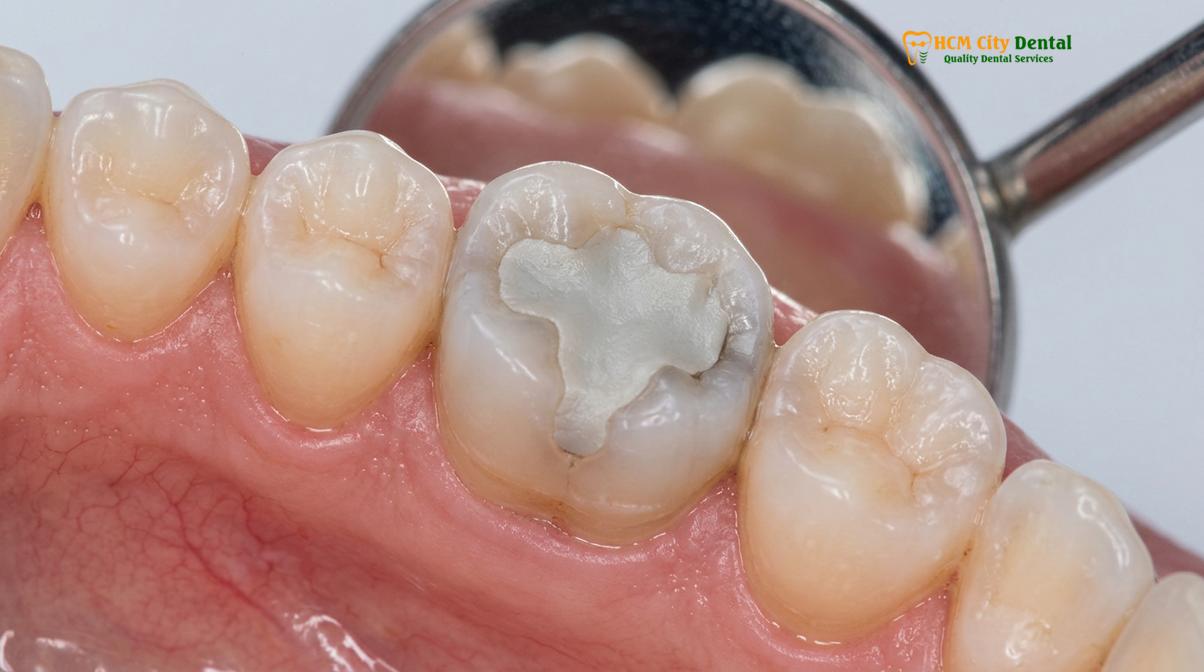
It is important to understand the biomechanical limitations of temporary filling materials. Unlike permanent composite resins or dental ceramics, temporary cements are relatively soft, brittle, and highly susceptible to occlusal wear and fracture. They are designed to be easily removed by the dentist during your next visit, which inherently means they cannot withstand the heavy compressive and shear forces generated during normal mastication. To protect this vital seal, you must strictly adhere to specific dietary modifications.
Clinical Case Review: The Importance of Dietary Compliance
A 42-year-old patient recently visited HCMC Dental Clinic in Ho Chi Minh City for a routine root canal on a lower first molar. Despite receiving clear post-operative instructions, the patient consumed hard roasted nuts on the treated side the following day. The excessive shear force fractured the temporary filling, exposing the gutta-percha to oral fluids. The patient had to return immediately for an emergency re-sealing and a prophylactic irrigation protocol to ensure no bacterial contamination had occurred, highlighting the critical need for dietary caution during the interim healing phase.
To ensure the integrity of your temporary restoration, absolutely avoid sticky foods such as caramel, chewing gum, taffy, or gummy candies, as these can physically adhere to the filling material and pull it out of the cavity. Similarly, hard foods like ice cubes, hard candies, popcorn kernels, and crusty bread must be avoided, as they can crack the filling or, worse, fracture the fragile, hollowed-out tooth structure itself. It is normal for the surface of the temporary filling to feel slightly rough to your tongue, and you may notice a slight depression forming as the top layer gradually wears away over a few days. However, if the entire filling dislodges, leaving a deep, visible hole, you must contact your dental provider immediately for a replacement.
Oral Hygiene Protocols: How to Brush and Floss Safely
Maintaining meticulous oral hygiene prevents secondary infections, but patients must use gentle brushing techniques and modified flossing methods around the treated tooth to avoid dislodging the temporary seal.
A successful recovery relies heavily on maintaining a pristine oral environment. Plaque accumulation around the treated tooth can lead to localized gingivitis, which complicates the healing of the periodontal tissues and increases the risk of bacterial ingress if the temporary seal is even slightly compromised. However, the mechanical actions of brushing and flossing must be adapted to accommodate the fragility of the temporary restoration and the tenderness of the surrounding gums.
You should resume brushing your teeth on the same day as your procedure, but approach the treated area with deliberate care. Utilize a soft-bristled toothbrush and a non-abrasive fluoride toothpaste. Employ the modified Bass technique: angle the bristles at 45 degrees toward the gumline and use small, gentle, circular vibratory motions rather than aggressive horizontal scrubbing. This method effectively disrupts the bacterial biofilm without exerting undue lateral pressure on the temporary filling or irritating the healing gingival margins. Do not skip brushing the treated tooth; simply modulate your pressure to ensure thorough cleaning without causing discomfort.
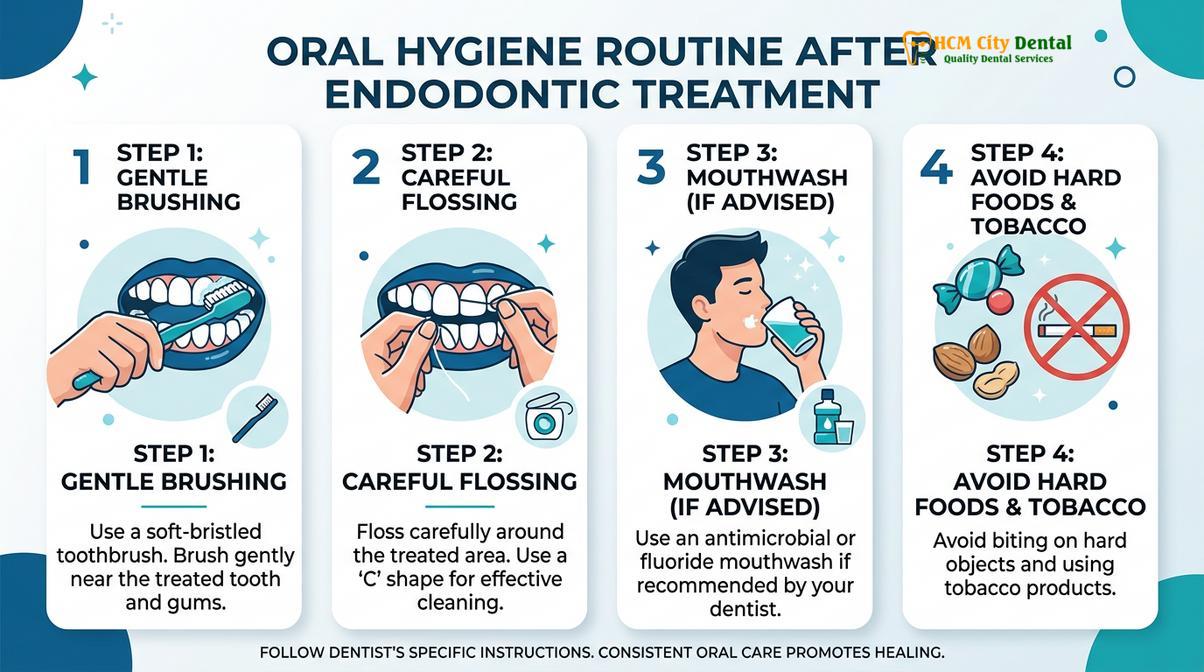
Flossing requires a specific technical modification to prevent iatrogenic damage. Standard flossing involves snapping the floss down between the contact points and then pulling it back up vertically. If you pull the floss vertically upward between a tooth holding a temporary filling, the friction and upward force can easily catch the overhanging edge of the temporary cement and dislodge the entire restoration. To prevent this, carefully guide the floss down between the teeth to clean the interproximal surfaces, but instead of pulling it back up, release one end of the floss and gently pull it through horizontally. This “pull-through” technique effectively removes interdental plaque while completely eliminating the risk of unseating the temporary filling.
In addition to mechanical cleaning, chemical plaque control can be highly beneficial during the first few days of recovery. Rinsing with a warm saline solution (one-half teaspoon of salt dissolved in eight ounces of warm water) two to three times a day helps to soothe inflamed gingival tissues, reduce localized edema, and maintain a bacteriostatic environment. If your endodontist has prescribed an antimicrobial mouthwash, such as 0.12% chlorhexidine gluconate, use it exactly as directed, typically avoiding rinsing immediately after brushing to prevent interactions with the toothpaste ingredients. By combining gentle mechanical cleaning with appropriate chemical rinses, you create the optimal environment for rapid and uncomplicated tissue healing.
Medication Guidelines: NSAIDs, Paracetamol, and Antibiotics (When Needed)
Pharmacological management typically relies on over-the-counter analgesics to control inflammation, while antibiotics are strictly reserved for cases exhibiting systemic involvement or spreading infection.
Effective pharmacological intervention is a cornerstone of the root canal recovery guide. Because the primary source of post-operative discomfort is inflammation within the periapical tissues, the first-line defense involves the strategic use of anti-inflammatory medication. Non-steroidal anti-inflammatory drugs (NSAIDs), such as Ibuprofen (Advil, Motrin) or Naproxen (Aleve), are highly efficacious in this clinical scenario. NSAIDs work by inhibiting the cyclooxygenase (COX) enzymes, thereby blocking the synthesis of prostaglandins—the lipid compounds responsible for mediating inflammation, swelling, and pain sensitization at the cellular level [4].
For optimal pain control, clinical evidence supports a scheduled dosing regimen rather than an “as-needed” approach during the first 48 hours. Taking the medication at regular intervals (e.g., 400mg to 600mg of Ibuprofen every 6 to 8 hours, subject to medical contraindications) maintains a steady therapeutic concentration in the bloodstream, preventing the inflammatory cascade from gaining momentum. If NSAIDs alone are insufficient to manage the discomfort, they can often be safely staggered with Paracetamol (Acetaminophen). Paracetamol operates through a different central mechanism, and when combined with an NSAID, the two drugs exhibit a synergistic analgesic effect without exceeding the maximum daily dosage limits of either medication.
“The prophylactic and scheduled administration of NSAIDs immediately following endodontic therapy significantly reduces the incidence and severity of post-operative flare-ups by preemptively suppressing the prostaglandin-mediated inflammatory response.”
It is imperative to note that NSAIDs are contraindicated for certain patients, including those with a history of severe gastrointestinal ulcers, bleeding disorders, uncontrolled hypertension, or specific renal impairments. Always consult with your healthcare provider or pharmacist to ensure that any over-the-counter medication does not interact adversely with your current prescriptions or underlying medical conditions. If you cannot tolerate NSAIDs, Paracetamol remains a safe and effective alternative for baseline pain management.
A critical topic in endodontic pharmacology is the appropriate use of systemic antibiotics. Historically, antibiotics were frequently prescribed following root canals as a preventative measure. However, modern endodontic protocols, guided by global antibiotic stewardship initiatives, dictate that antibiotics are rarely necessary for routine cases. The infection in a necrotic tooth is localized within the avascular root canal system; because there is no blood supply inside the dead tooth, systemic antibiotics circulating in the bloodstream cannot reach the bacteria inside the canals. The mechanical cleaning and chemical disinfection performed by the dentist are what actually cure the infection.
Antibiotics (such as Amoxicillin or Clindamycin) are strictly reserved for specific clinical scenarios where the localized infection has breached the periapical bone and is actively spreading into the surrounding facial spaces. Indications for antibiotic therapy include the presence of fluctuant facial swelling, cellulitis, lymphadenopathy (swollen lymph nodes), trismus (difficulty opening the mouth), or systemic symptoms such as a fever or malaise. If your endodontist determines that antibiotics are clinically necessary, it is vital that you complete the entire prescribed course, even if your symptoms resolve after a few days, to prevent the development of antibiotic-resistant bacterial strains.
Warning Signs: When to Call Your Endodontist Immediately
While mild symptoms are expected, severe swelling, persistent throbbing pain unresponsive to medication, or systemic fever indicate potential complications requiring immediate clinical intervention.
While the vast majority of endodontic recoveries proceed smoothly and without incident, it is crucial for patients to be able to differentiate between normal post-operative healing and the signs of a potential complication. An endodontic “flare-up” is a clinical term used to describe an acute exacerbation of periradicular pathosis following a root canal appointment, characterized by severe pain and/or swelling. Although flare-ups occur in only a small percentage of cases (typically between 1% and 5%), they require prompt professional management to ensure the long-term success of the treatment and the safety of the patient [5].
Normal healing involves a gradual decrease in symptoms day by day. If your pain trajectory reverses—meaning the discomfort significantly worsens after the third day—this is a primary indicator that the tissue is not responding optimally. Furthermore, while mild, localized puffiness of the gums immediately adjacent to the treated tooth can occur, any visible, progressive swelling of your facial tissues, cheeks, or jawline is a definitive red flag. This type of spreading edema suggests that an acute bacterial infection is overwhelming the local immune response and requires immediate clinical evaluation, potentially involving drainage or the initiation of systemic antibiotic therapy.
Important Clinical Considerations: Red Flag Symptoms
Please contact your dental provider immediately if you experience any of the following severe symptoms during your recovery:
- Intense, throbbing pain that is not alleviated by maximum doses of prescribed or over-the-counter analgesics.
- Visible, rapidly spreading swelling of the face, jaw, or neck, or the development of a fluctuant abscess (pus-filled bump) on the gums.
- Systemic signs of infection, including a high fever, chills, or profound lethargy.
- Difficulty swallowing, breathing, or a severe inability to open your mouth normally (trismus).
- Signs of an allergic reaction to prescribed medications, such as hives, skin rashes, or sudden respiratory distress.
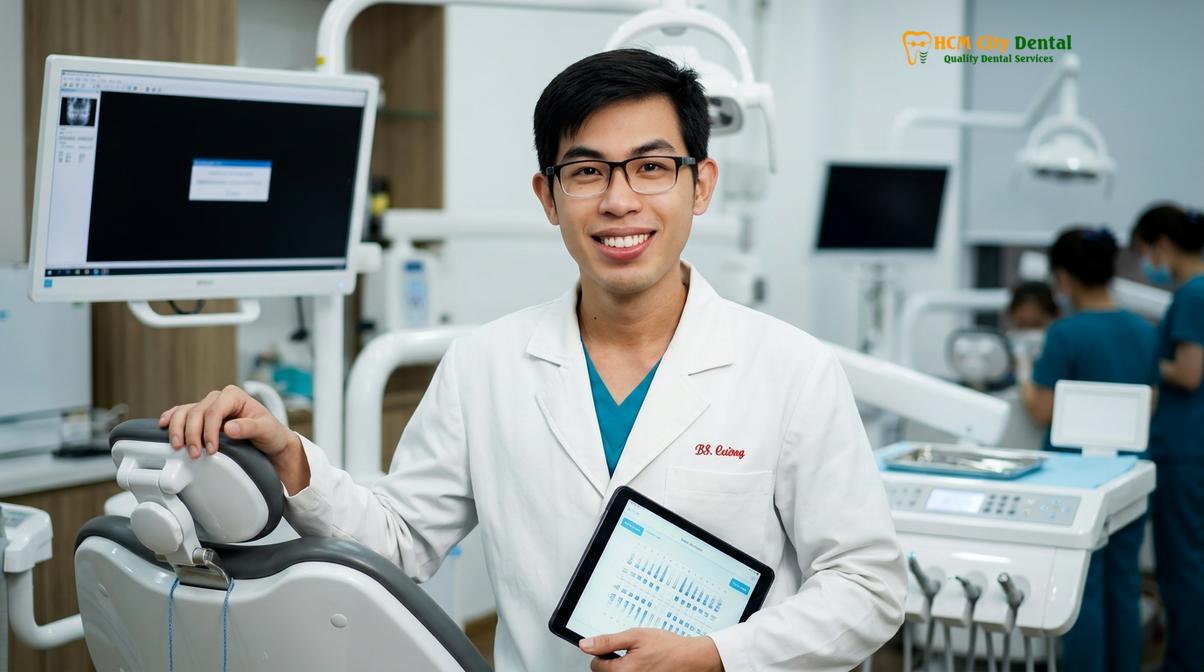
At HCMC Dental Clinic, patient safety and comfort are our highest priorities. Dr. Nguyen Van Cuong advises all patients to closely monitor their symptoms and to never hesitate to reach out if something feels abnormal. It is always better to have a clinical professional evaluate a minor concern than to allow a true complication to escalate. If you experience any of the warning signs listed above, contact the clinic immediately for an emergency triage assessment. Based on clinical diagnostics, your endodontist will determine the appropriate intervention, which may include adjusting your pharmacological regimen, prescribing antibiotics, or scheduling an immediate follow-up visit to re-evaluate the treated tooth.
Frequently Asked Questions
Why does my tooth still hurt after the nerve has been removed?
Your tooth may still hurt because the surrounding periodontal ligament and bone tissues remain inflamed from the procedure and previous infection. Even though the internal nerve is gone, the external supporting structures contain highly sensitive nerve endings that require several days to heal completely. This periapical inflammation is a normal immune response as your body clears away residual cellular debris and begins the bone regeneration process.
How long does pain or tenderness last after a root canal?
Mild to moderate tenderness typically lasts for three to five days following the procedure. This discomfort should progressively decrease each day; if the pain worsens after the third day or persists beyond a week, you should contact your endodontist for an evaluation. Consistent use of anti-inflammatory medications during the first 48 hours significantly reduces the duration and intensity of this expected tenderness.
What should I do if my temporary filling falls out?
If your temporary filling falls out, contact your dental clinic immediately to schedule a replacement appointment. Do not attempt to glue it back yourself, and avoid chewing on that side of your mouth to prevent food debris and bacteria from contaminating the cleaned root canal system. A lost temporary seal exposes the gutta-percha to oral fluids, which can lead to rapid bacterial microleakage and necessitate retreatment if left unaddressed.
Can I drive myself home after a root canal procedure?
Yes, you can safely drive yourself home if your procedure was performed using only standard local anaesthesia. However, if you received oral sedatives, intravenous (IV) sedation, or nitrous oxide to manage dental anxiety, you must have an escort drive you home. Local anaesthetics only affect the sensory nerves in your mouth and do not impair your cognitive functions, motor skills, or reaction times required for safe driving.
When can I get my permanent dental crown placed?
You can typically have your permanent dental crown placed one to two weeks after your root canal treatment, once all initial symptoms have subsided. Delaying the crown placement for too long increases the risk of the brittle, treated tooth fracturing under normal chewing forces. The permanent crown provides essential structural reinforcement and a definitive, long-term seal against bacterial reinfection, ensuring the lasting success of your endodontic therapy.
References
- Journal of Endodontics. Outcomes of root canal treatment and restoration longevity. (2020).
- International Endodontic Journal. Biofilms in endodontics and disinfection strategies. (2021).
- Journal of the American Dental Association. Microscope-assisted endodontics and missed canals. (2019).
- Clinical Oral Investigations. Biocompatibility of bioceramic root canal sealers. (2022).
- British Dental Journal. Pain management and dental anxiety in endodontics. (2018).