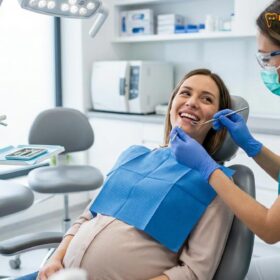
A professional dental cleaning before whitening and veneers is a mandatory clinical step to remove plaque and calculus. This ensures optimal bleaching gel penetration, prevents uneven coloration, and creates a pristine enamel surface necessary for secure, long-lasting porcelain veneer bonding.
Clinical Summary:
The sequence of cosmetic dental treatments heavily dictates the final aesthetic and functional outcome. Performing a thorough prophylaxis (scaling and polishing) prior to chemical bleaching eliminates physical barriers like calculus, ensuring uniform shade enhancement. Subsequently, achieving a stable, brightened baseline tooth shade is critical before fabricating porcelain veneers, as the final ceramic restorations are color-matched to the surrounding natural dentition. Furthermore, a clean, healthy enamel surface is non-negotiable for maximizing composite bonding adhesion during the final veneer cementation phase. Skipping the initial cleaning phase compromises both the aesthetic results and the structural integrity of the restorations.
Key Takeaways:
- Calculus and plaque act as physical barriers, preventing whitening agents from reaching the enamel matrix.
- Whitening over tartar results in uneven, patchy coloration and increases the risk of gingival chemical burns.
- A pristine, calculus-free enamel surface is clinically required to achieve maximum bond strength for porcelain veneers.
- Underlying dental caries must be diagnosed and restored prior to any cosmetic bleaching or veneer preparation.
- A strategic waiting period between cleaning, whitening, and veneer placement ensures shade stabilization and optimal tissue health.
The Whitening Barrier: How Plaque and Tartar Block Bleaching Gel
Plaque and hardened calculus create an impermeable physical shield over the tooth surface, actively blocking hydrogen peroxide from penetrating the enamel matrix. Removing these deposits is essential for effective and uniform chemical bleaching.
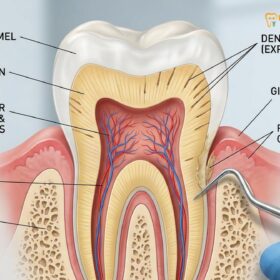
To understand why a dental cleaning is the foundational step in any cosmetic smile makeover, one must first examine the biochemistry of teeth whitening. Professional bleaching agents, primarily composed of hydrogen peroxide or carbamide peroxide, work by penetrating the porous crystalline structure of tooth enamel. Once inside, these active ingredients undergo an oxidation reaction, breaking down the complex chromogenic (color-causing) molecules that cause deep intrinsic stains. However, this chemical reaction relies entirely on the bleaching agent making direct, unimpeded contact with the enamel surface[1].
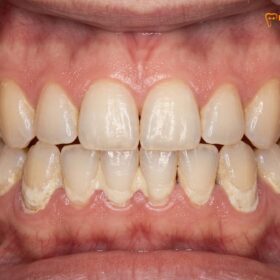
When oral hygiene is suboptimal, a sticky biofilm known as plaque constantly forms on the teeth. If not removed through daily brushing and flossing, this plaque absorbs minerals from the saliva—such as calcium and phosphate—and calcifies into a hard substance called calculus, commonly known as tartar. Calculus is highly porous and deeply stained, but more importantly, it is structurally dense. It forms a literal wall over the cervical third of the tooth, particularly near the gumline.
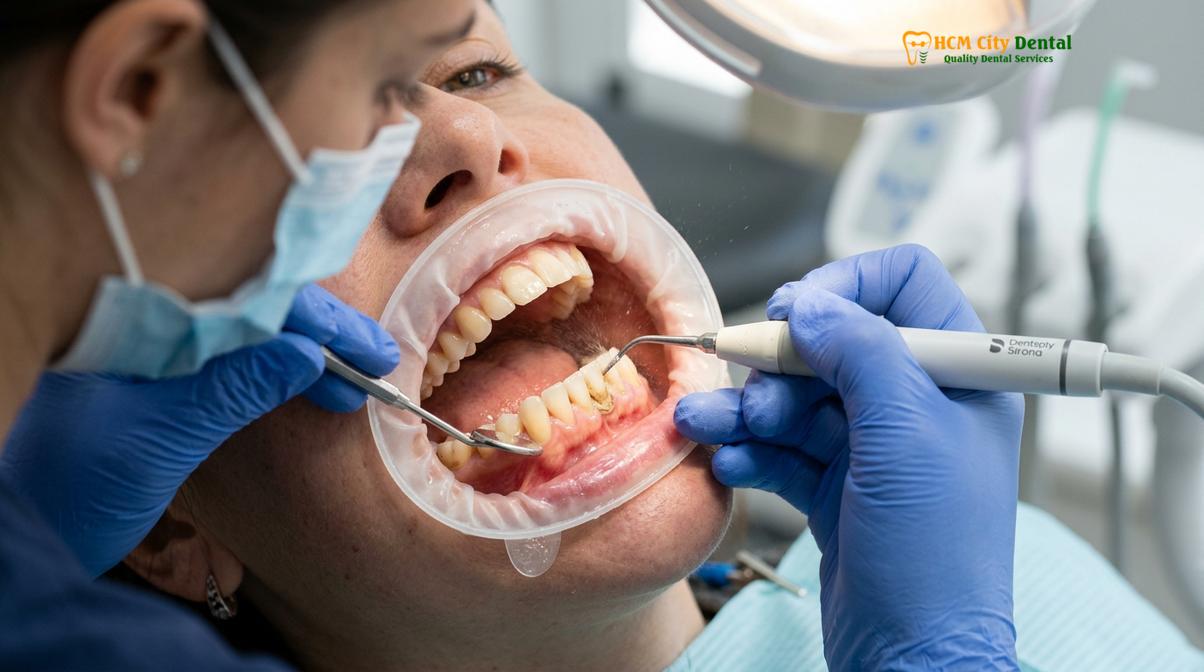
If a bleaching agent is applied over teeth coated in calculus, the peroxide molecules expend their oxidative energy attempting to break down the organic matrix of the tartar rather than penetrating the tooth. This lack of proper bleaching gel penetration means the underlying enamel remains entirely unaffected by the whitening process. To achieve true plaque barrier whitening—where the chemical agent successfully bypasses biofilm to reach the dentin—a professional ultrasonic scaling and polishing must be performed first. By utilizing high-frequency vibrations and specialized hand instruments, a dental hygienist or dentist shatters the calculus deposits, exposing the clean, natural enamel beneath. This comprehensive approach to general dentistry ensures that the subsequent cosmetic procedures are performed on a biologically sound foundation.
Furthermore, the polishing phase of a professional cleaning removes the acquired pellicle—a thin protein film that forms on teeth—along with superficial extrinsic stains caused by coffee, tea, or tobacco. By stripping away these surface contaminants, the enamel is primed to absorb the whitening gel rapidly and evenly, maximizing the efficacy of the bleaching treatment and ensuring a brighter, more predictable outcome.
Preventing Uneven Whitening: The Risk of Bleaching Over Calculus
Applying whitening agents over uncleaned teeth leads to patchy, uneven results known as the “leopard spot” effect. Furthermore, bleaching inflamed gums covered in tartar significantly increases the risk of severe chemical tissue burns.
The aesthetic consequences of bypassing a professional cleaning before whitening are immediate and highly undesirable. When bleaching gel is applied to a tooth partially covered in calculus, the exposed enamel will lighten, while the enamel hidden beneath the tartar remains its original, darker shade. Once the tartar is eventually removed at a later date, the patient is left with distinct, demarcated zones of different colors on a single tooth. This patchy, uneven appearance is incredibly difficult to correct and completely undermines the goal of cosmetic enhancement[2].
Beyond the aesthetic failure, there are significant biological risks associated with applying high-concentration peroxide gels to an uncleaned oral cavity. Calculus is highly irritating to the gingival tissues. The rough surface of tartar harbors millions of pathogenic bacteria, which trigger an immune response leading to gingivitis. Inflamed gums are characterized by swelling, redness, and increased vascularity, making them highly sensitive and prone to bleeding.
When a caustic bleaching agent comes into contact with inflamed, ulcerated gingival tissue, it can cause acute chemical burns, severe pain, and tissue sloughing. The protective gingival barrier used during in-office whitening procedures cannot adhere properly to swollen, bleeding gums, allowing the peroxide to seep underneath and cause further damage. Therefore, a professional cleaning is not just an aesthetic prerequisite; it is a critical safety measure. By removing the calculus, the gingival tissues are allowed to heal and return to a firm, healthy state, ensuring they can withstand the whitening process without adverse reactions.
Moreover, achieving a uniform and stable tooth shade is the cornerstone of planning for subsequent restorations. When a patient intends to receive porcelain veneers, the final ceramic shade must blend seamlessly with the adjacent natural teeth. If the natural teeth are unevenly whitened due to residual calculus, achieving an accurate veneers color match becomes a clinical impossibility. The dental laboratory requires a consistent, stable baseline shade to fabricate restorations that look naturally beautiful rather than artificial or mismatched.
Veneer Prep: Ensuring Clean Enamel for Strong Composite Bonding
A calculus-free, healthy enamel surface is a fundamental prerequisite for successful veneer cementation. Contaminated or compromised enamel drastically reduces the micromechanical retention needed for long-lasting ceramic restorations.
The transition from a whitened smile to the placement of porcelain veneers requires meticulous clinical precision. Porcelain veneers are ultra-thin shells of ceramic that are permanently bonded to the facial surfaces of the teeth. The success and longevity of these restorations depend entirely on the strength of the bond between the ceramic, the resin cement, and the natural tooth structure. This bonding process is highly technique-sensitive and demands an absolutely pristine enamel surface.
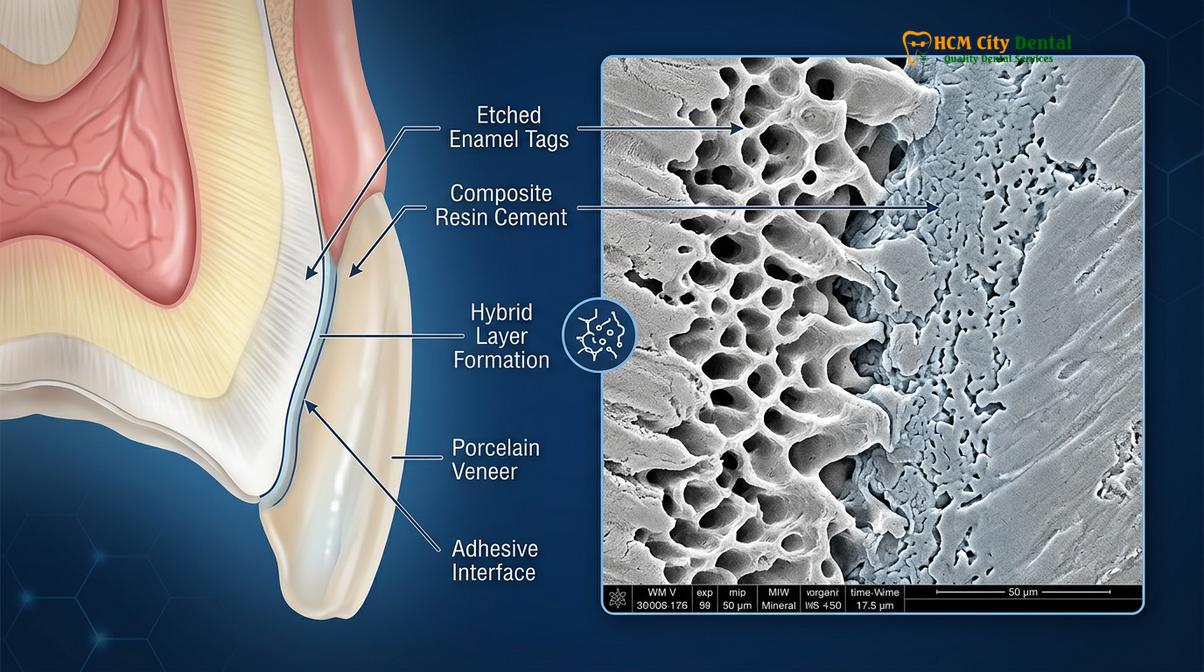
During the teeth cosmetic prepare phase, the dentist lightly modifies the enamel to create space for the veneer. Following this, the tooth surface is treated with a mild phosphoric acid etchant. This acid removes the smear layer and creates microscopic porosities (enamel tags) in the tooth structure. The liquid resin bonding agent flows into these porosities, and upon light-curing, creates a powerful micromechanical interlock. This is the essence of composite bonding adhesion.
If a tooth has not been professionally cleaned, residual calculus, plaque, or even a thick pellicle layer will physically block the acid etchant from reaching the enamel. Consequently, the microscopic porosities are never formed, and the resin cement has nothing to grip. A veneer bonded to a contaminated surface is highly susceptible to debonding (falling off) or microleakage. Microleakage occurs when oral fluids and bacteria seep into the microscopic gap between the veneer and the tooth, leading to dark marginal staining, secondary decay, and eventual failure of the restoration[3].
“The longevity of a porcelain veneer is directly proportional to the quality of the enamel it bonds to. Any residual calculus or biofilm at the margin compromises the seal, leading to microleakage and eventual restoration failure,” explains Dr. Nguyen Van Cuong.
To ensure the highest success rate for custom porcelain veneers, the clinical team at HCMC Dental Clinic strictly adheres to comprehensive prophylactic protocols. By ensuring the enamel is entirely free of organic and inorganic contaminants, the resin cement can achieve maximum bond strength, resulting in restorations that can withstand the immense forces of daily mastication for decades.
Detecting Hidden Decay: Resolving Cavities Before Cosmetic Work
Cosmetic treatments must never mask active dental disease. Identifying and treating hidden caries during the initial cleaning phase prevents excruciating pain during whitening and catastrophic structural failures beneath veneers.
A fundamental rule in advanced restorative dentistry is that aesthetics must always be built upon a foundation of absolute health. Proceeding with cosmetic enhancements while active dental caries (cavities) or periodontal disease is present is a violation of clinical standards. The professional dental cleaning serves as a critical diagnostic window, allowing the dentist to thoroughly evaluate the hard and soft tissues without the visual obstruction of plaque and calculus.
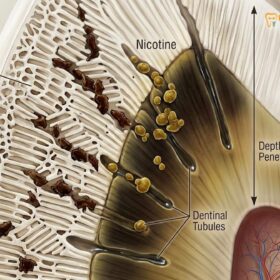
During a comprehensive District 1 dental check, the clinician utilizes tactile exploration, high-magnification loupes, and digital bitewing radiographs to detect interproximal decay (cavities between the teeth) or subgingival lesions that are invisible to the naked eye. If a patient attempts to undergo teeth whitening with an undiagnosed cavity, the results can be agonizing. The hydrogen peroxide gel will penetrate the carious lesion, traveling directly through the exposed dentinal tubules to the highly innervated dental pulp. This causes acute, severe pulpitis (nerve inflammation) and excruciating pain.
Similarly, placing a porcelain veneer over an active carious lesion is a recipe for disaster. The decay will continue to progress silently beneath the ceramic shell, destroying the underlying tooth structure until the tooth fractures or requires a root canal. Therefore, any decay detected during the pre-cosmetic cleaning phase must be completely excavated and restored with composite resin before any bleaching or veneer preparation begins.
By addressing these pathological issues first, the dentist ensures that the teeth are structurally sound and capable of supporting the cosmetic restorations. This phased approach, prioritizing health over immediate aesthetic gratification, is what separates exceptional clinical outcomes from short-term cosmetic fixes.
The Ideal Treatment Timeline: Cleaning to Whitening Transition
A structured, phased approach ensures optimal tissue healing, shade stabilization, and maximum bond strength. Rushing the transition between cleaning, bleaching, and veneering compromises both aesthetics and clinical longevity.
Achieving a flawless smile makeover is not a single-day event; it is a carefully orchestrated sequence of biological and chemical processes. The timeline from the initial prophylaxis to the final cementation of porcelain veneers must respect the healing capacity of the human body and the chemical properties of the dental materials used. Rushing this timeline can lead to compromised bond strengths, inaccurate shade matching, and gingival complications[4].
The first phase is the comprehensive dental cleaning. Depending on the patient’s periodontal health, this may involve a standard prophylaxis or a more intensive scaling and root planing procedure. Following the removal of calculus, the gingival tissues require time to heal. If the gums were inflamed, they will shrink as the swelling subsides, revealing the true position of the gingival margin. This healing period typically lasts one to two weeks. Attempting to take impressions for veneers before the gums have settled will result in restorations with inaccurate margins, leading to plaque retention and chronic inflammation.
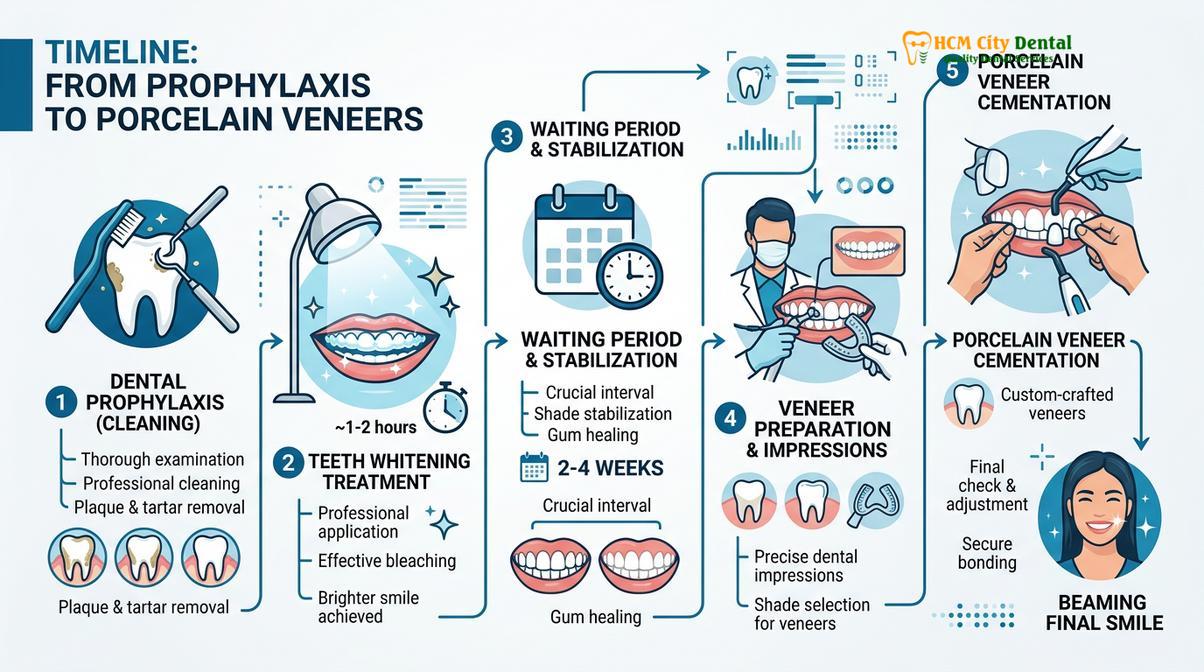
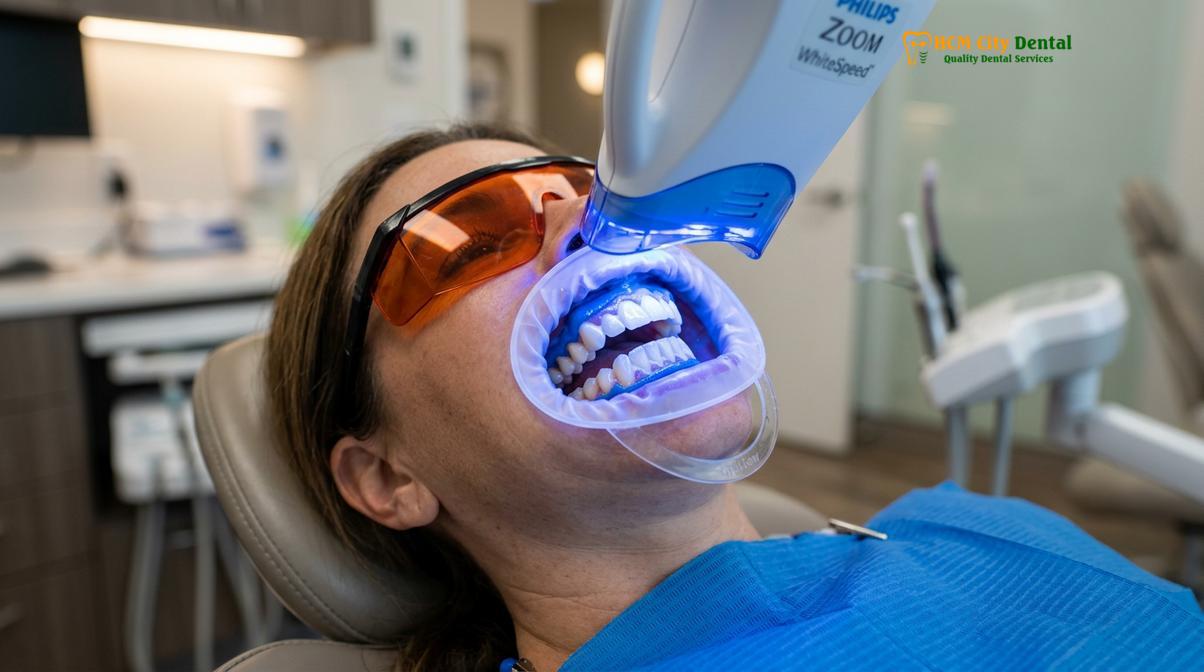
Once the tissues are healthy, the teeth whitening phase can commence. Whether utilizing in-office light-activated systems or take-home custom trays, the bleaching process alters the optical properties of the enamel. However, the final shade of the teeth is not immediately apparent. Teeth become dehydrated during whitening, making them appear artificially bright. As they rehydrate over the following days, the color settles into its true, stable shade. Furthermore, the oxidation process leaves residual oxygen molecules trapped within the enamel matrix.
| Treatment Phase | Clinical Action | Recommended Wait Time Before Next Step | Rationale |
|---|---|---|---|
| Phase 1: Prophylaxis | Scaling and root planing | 1 to 2 weeks | Allows gingival inflammation to subside and tissues to heal. |
| Phase 2: Bleaching | In-office or take-home whitening | 2 to 3 weeks | Ensures the new tooth shade stabilizes and oxygen dissipates from enamel. |
| Phase 3: Veneer Prep | Tooth preparation and impressions | 1 to 2 weeks | Allows the laboratory to fabricate restorations matching the stabilized shade. |
| Phase 4: Cementation | Final bonding of porcelain veneers | N/A | Completes the cosmetic transformation on a healthy, color-matched foundation. |
This residual oxygen is highly problematic for the next phase: veneer cementation. Oxygen is a known inhibitor of the polymerization (setting) process of composite resin cements. If a veneer is bonded to a recently whitened tooth, the trapped oxygen will prevent the cement from curing completely, resulting in a drastically weakened bond and a high risk of veneer failure. Therefore, a mandatory waiting period of two to three weeks is required after whitening before any adhesive dentistry can be performed.
“Patience is a clinical virtue in cosmetic dentistry. Allowing oxygen to fully dissipate from the enamel after whitening is non-negotiable; otherwise, the oxygen radicals will actively inhibit the polymerization of the resin cement used for veneers,” notes Dr. Cuong.
By adhering to this structured timeline, the clinical team ensures that the final general dentistry and cosmetic outcomes are predictable, durable, and aesthetically superior. The waiting periods allow for shade stabilization, ensuring the dental ceramist can create veneers that perfectly match the newly brightened natural dentition.
When to See a Doctor for Cosmetic Dental Planning
If you are considering a smile makeover involving whitening and veneers, it is imperative to undergo a comprehensive clinical evaluation before purchasing any over-the-counter bleaching products. You should schedule a consultation with a qualified dental professional if you experience any of the following symptoms, as they indicate underlying issues that must be addressed prior to cosmetic treatment:
- Bleeding Gums: Gums that bleed during brushing or flossing indicate active gingivitis or periodontitis, often caused by subgingival calculus.
- Tooth Sensitivity: Sharp pain when consuming hot, cold, or sweet foods may indicate exposed dentin, enamel erosion, or active decay.
- Visible Tartar Buildup: Hard, yellow, or brown deposits along the gumline that cannot be removed with a toothbrush require professional scaling.
- Existing Restorations: If you have old crowns, large fillings, or previous veneers, a dentist must evaluate how these will integrate with your new cosmetic plan, as they will not respond to whitening agents.
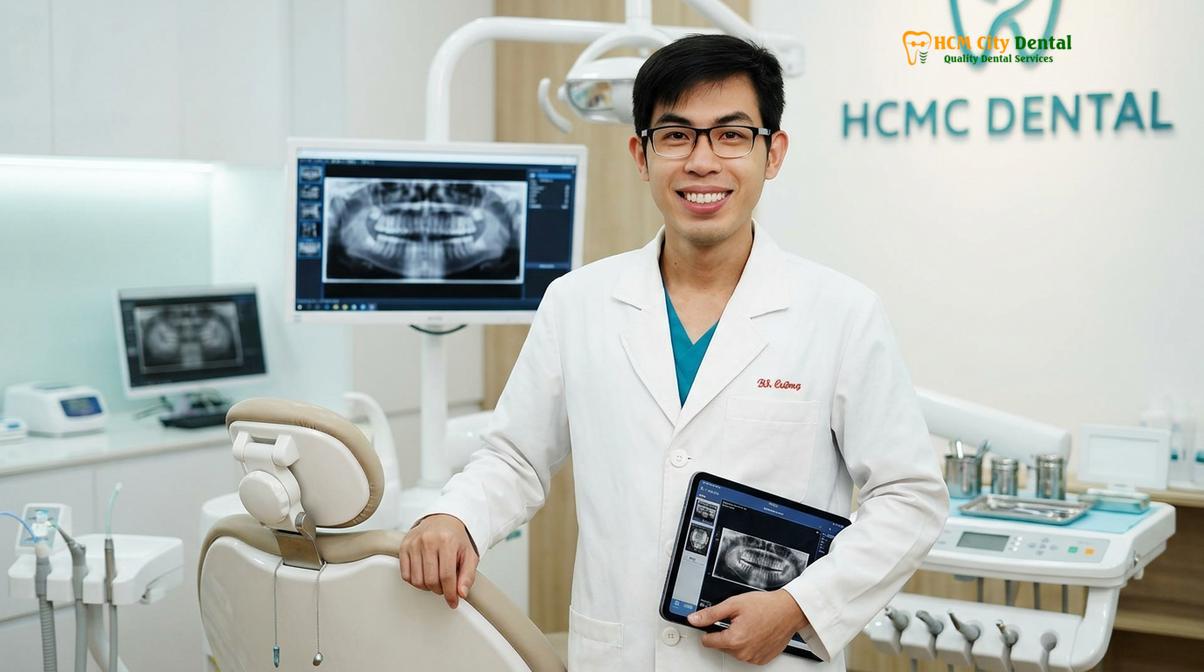
At HCMC Dental Clinic in Ho Chi Minh City, our approach to cosmetic dentistry is rooted in comprehensive oral health. We strongly advise against initiating any bleaching protocols without a thorough diagnostic workup. A personalized consultation will determine your candidacy for various treatments, identify any contraindications, and establish a safe, effective timeline for achieving your aesthetic goals. By prioritizing a healthy foundation, we ensure that your investment in your smile yields beautiful, long-lasting results[5].
Frequently Asked Questions
Can I get teeth cleaned and whitened on the same day?
Yes, in many cases, a professional dental cleaning and in-office whitening can be performed on the same day. However, if you have severe gingival inflammation or heavy calculus, your dentist will recommend a healing period before applying bleaching agents. Attempting to whiten immediately after a deep cleaning on inflamed gums can cause severe discomfort and chemical irritation.
What happens if you whiten teeth with tartar on them?
Whitening teeth with tartar buildup results in uneven, patchy coloration because the calculus blocks the bleaching gel. Additionally, applying peroxide over tartar-inflamed gums significantly increases the risk of severe chemical burns and tissue irritation. The whitening agent cannot penetrate the hard calcified deposits, leaving the underlying enamel dark while the surrounding clean areas become lighter.
How long should I wait after a cleaning to do Zoom whitening?
If your gums are healthy, Zoom whitening can be done immediately after a routine cleaning. If deep scaling was required to treat gingivitis, a waiting period of one to two weeks is recommended to allow the soft tissues to heal. This ensures the protective gingival barrier used during the Zoom procedure can adhere properly and protect your gums from the strong peroxide gel.
Will whitening my teeth change the color of my existing dental work?
No, chemical whitening agents only alter the shade of natural tooth enamel. Existing dental work, such as composite fillings, crowns, or older veneers, will not change color and may need to be replaced to match your newly whitened teeth. It is crucial to plan the replacement of these restorations after the whitening process is complete and the new shade has stabilized.
Why is a delay required between whitening and veneer placement?
A delay of two to three weeks is required because residual oxygen from the whitening process inhibits the setting of the resin cement. This waiting period also ensures your new tooth shade has fully stabilized for accurate color matching. Bonding a veneer too soon after bleaching significantly reduces the adhesive strength, increasing the risk of the veneer debonding or failing prematurely.
References
- Journal of the American Dental Association. The efficacy of professional prophylaxis prior to vital tooth bleaching. (2021).
- Clinical Oral Investigations. Influence of dental calculus on the penetration depth of hydrogen peroxide. (2020).
- Journal of Esthetic and Restorative Dentistry. Gingival response to high-concentration bleaching agents in the presence of plaque. (2019).
- Dental Materials. Effect of residual oxygen on the shear bond strength of composite resin to enamel. (2022).
- International Journal of Periodontics & Restorative Dentistry. Phased treatment planning in comprehensive cosmetic dentistry. (2018).
For professional dental cleaning pricing, GBT prophylaxis, or to book an appointment, visit our Dental Cleaning & Preventive Care service page at HCMC Dental Clinic in Ho Chi Minh City.